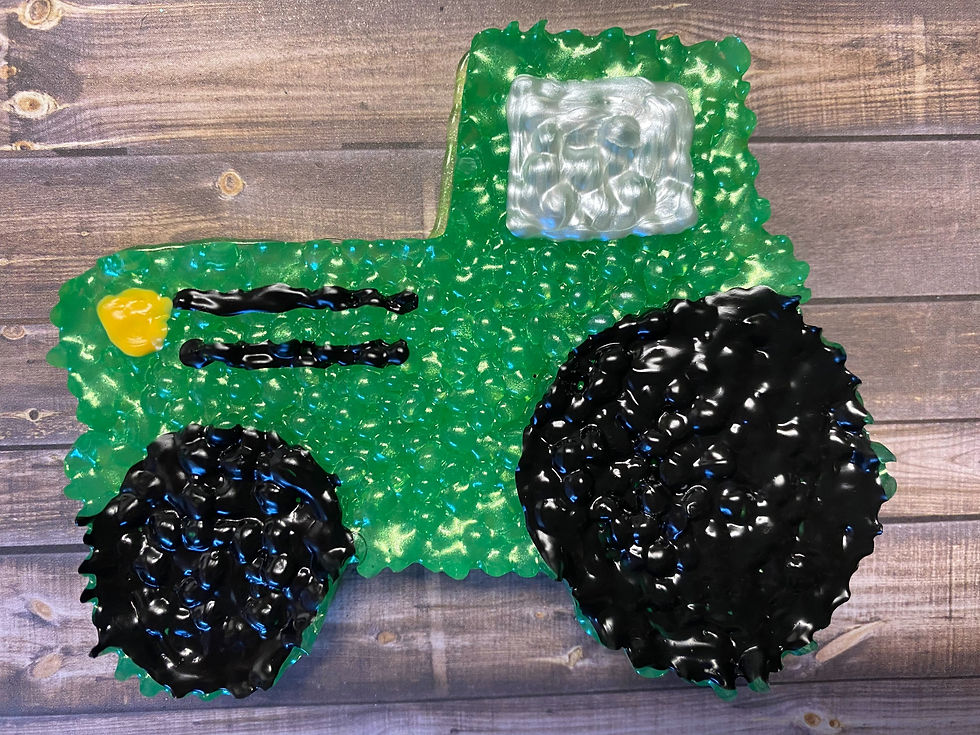
How to Bake Freshies -Cookie Cutter
- retailbyhales
- Dec 30, 2021
- 4 min read
Updated: Dec 31, 2021

Baking a freshie isn't very complicated, but it will take some practice to figure out what temperatures you like and how long you need to cook them for. Everyone's ovens are different.
Prefer to watch? Scroll to the bottom for a step by step video!
Materials:
Colored scented aroma beads (see my tutorial here for how to color beads)
Cookie cutter (here is a fun starter set)
Oven (toaster oven or full sized will work)
cookie sheet
parchment paper or a silicone mat* (Not wax paper)
Elastic* or string for hanging
Drill or roofing nail, your choice

Step 1: Prepare your space
You'll want your cookie sheet on a flat surface with the cookie cutter on top.
I like to set the cookie cutter on a piece of parchment paper or silicone mat. This makes it easy to remove from the cookie sheet at the end and allows you to cook different freshies for different amounts of time.
Do not use wax paper. The wax will melt and stick to your freshie.
Once you use a cookie sheet for freshies, I wouldn't use it for food again.

Step 2: Add beads
You'll want to pour your beads into your cookie cutter. I like to fill cutters about halfway. This makes them thick enough that they are sturdy when hanging, but not so thick that I'm wasting beads.
If you want to use a roofing nail for the hole, this is when to put it in. Make sure you're placing the nail about a 1/4 inch down on the freshie, so that in the warm summer months your freshie is less likely to melt through the string. I use a drill to put my holes in so you won't see roofing nails in my pictures.

Step 3: Bake
I bake my cookie cutters at 325 degrees for 8-10 minutes. I use a full size electrical oven. A toaster oven or gas oven will cook differently.
There are lots of variables that will change how long your freshies need to cook.
Mica amount- too much will need longer to cook
Scent- some scents cook faster than others
Thickness- a thicker freshie will take longer to cook than a thin one
Placement in your oven- my bottom rack cooks faster than the top rack, the freshies in the back of the oven cook quicker than the ones in the front
Cookie cutter type- a copper cutter will cook a bit differently than a traditional one
Make sure you set a timer each time you put freshies in the oven. It's super easy to forget them, especially if you put them in for "just one more minute."
Step 4: Check Your Freshie
I like to gently poke the freshie with my finger. You want the beads to stay in place and feel sticky. You should still be able to see the individual beads. I always start by cooking mine for 9 minutes then check them every minute after that. That helps prevent any overcooked freshies.
Undercooked:
Beads fall apart
After you take it out of the cutter, if you bend it in half and the beads split, it was undercooked. You can put these back in the over for 6-7 minutes to help the beads fully stick together


Perfectly cooked:
Beads are sticky when warm
Beads stick together even after running your finger over them
Beads shine when warm- they'll look glossy
Freshie pops out after 7-9 minutes relatively easily, no sticking or forcing it out


Overcooked
Beads are completely melted together
Freshie is stuck inside your cookie cutter and won't come out without some work (We've all been there, unfortunately)


Step 5: Cool
Let your freshie cool for 7-9 minutes. You want it to be slightly warm but not hot. This will make it easy to get out of the cookie cutter.
Trying to remove it from the cutter too soon will make it bend and warp. The beads won't come out of the cutter well and they'll stick to it.
Trying to remove it too late can make it stick to the cutter. Depending on the shape this may not be a problem, but there are some shapes that become very difficult to remove if the freshie has cooled off a lot.
Once it's cooled off, pop it out of the cutter. Here's a quick video of how I remove them.

Step 6: Finish
You'll want to string your freshie. If you use a roofing nail, pop that out and put elastic or string through your new hole.
If you're using the drill method it's super easy. Just pick the spot where you want to drill, press down hard with the drill bit so that it doesn't slip, and start drilling. You'll want to go in and out a few times to clean up the hole so that it's easy to put string through. Make sure you clean the plastic off your drill bit while it's still warm.
I like looping the end of the string through itself, as shown in the picture. This helps your freshie hang straight.
Once your freshie is strung, you can hang it wherever you would like! Most people hang them on their rearview mirrors but you can get creative.
I would love to see your creations! Feel free to share your instagram or facebook links below in the comments.


Comments